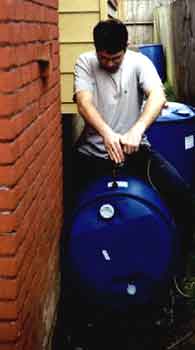
Step 1: Drill three of four holes in the barrel. One of
these is for the bibet to connect your garden house to the barrel and the other fittings
will allow you to add more barrels in the future. One of the barrels must have an
overflow fitting near the top of the barrel. If you plan on using 3/4 inch fittings
use a 1 inch hole saw to cut the holes. If you have an adjustable hole saw make it a
little smaller than 1 inch.
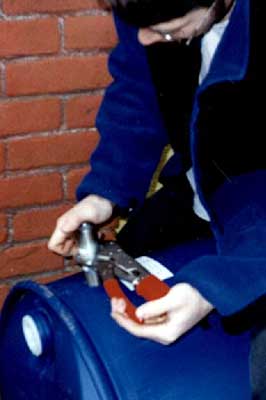
Step 2: Place plumbers goop on a 3/4 inch nipple.
Using a 3/4 inch galvanized metal nipple and some locking pliers, thread nipple into the
barrel. the hole for the fitting. Place Plumbers goop or some other adhesive on the
thread.

Step 3: Now the real fun part. Cut the down
spout at the proper height. You should place the rainbarrel on one or two concrete
blocks and then determine the proper height. After cutting the down spout attach the
necessary elbows and extensions to have the down spout reach the barrel. I still am
trying to create a non ABS or PVC way to divert the first couple of gallons after each
rainfall (this will keep the sediment from clogging up the screen). Attach a 4 inch
by 2 inch ABS plastic converter to the end of the down spout and attach a fine mesh screen
over the converter (you can use a paint sprayer filter which you can get at a hardware
store for about $1).
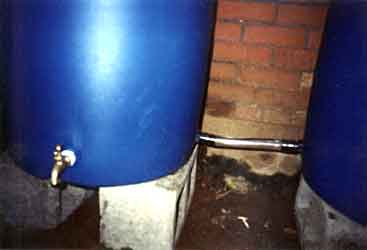
Step 4: If you are adding more barrels do this now.
Attach a garden hose Y fitting on the 3/4 inch nipples. Position the barrels on top
of the concrete blocks and cut the right length of garden hose to connect the barrels
(with male fittings attached to both ends).
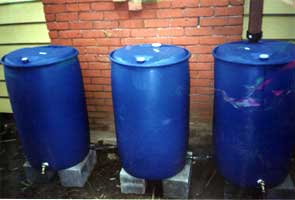
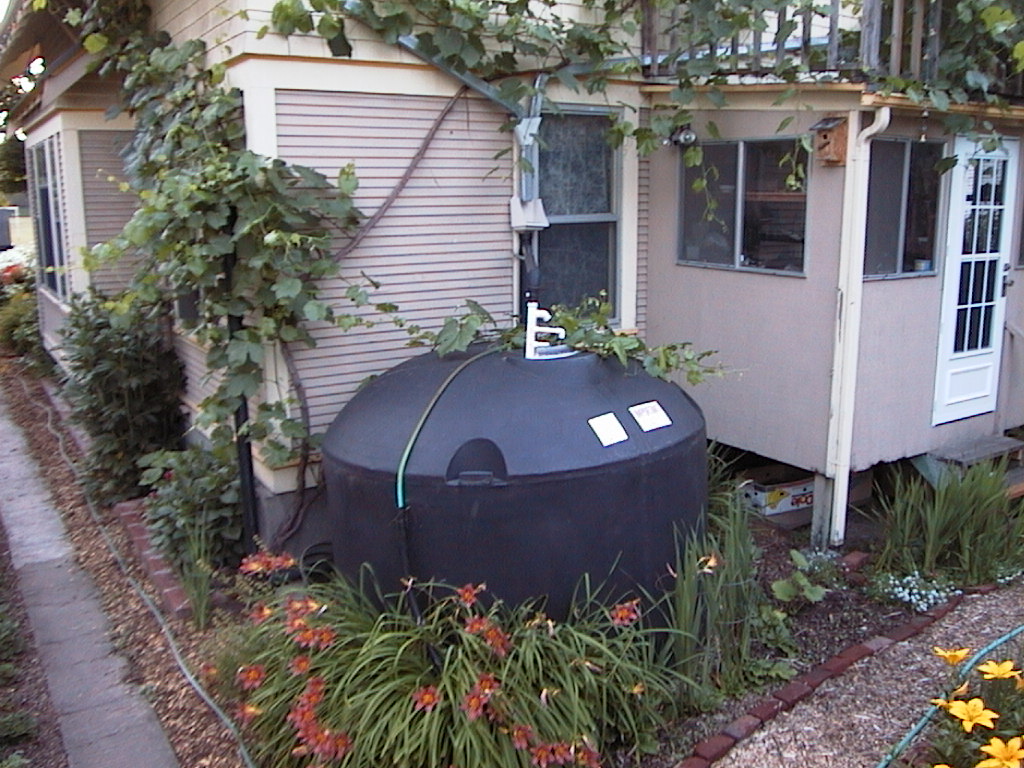
Step 5: The final product. You must attach an overflow line
on the first barrel (the one on the far right in this picture). This must be placed
near the top of the barrel and it should be attached to some form of hose or tube to
discharge any overflow. Please note that you must remove one of the two bung
fittings on the top of the barrel and cover it with a small screen. I used the paint
sprayer filter with a rubberband to hold it in place.
You can get the 55 gallon barrels for $3 at Yoshida Group out by
the airport (telephone number 503-284-1114 ask to speak with shipping). They are in
the Yellow Pages.
Brief Overview of Rainwater
Catchment:
Rainwater catchment is the process of capturing
water runoff from an impervious surface for later use. A system can be as simple as
a whiskey barrel placed under a rain gutter downspout for watering a garden or as complex
as an engineered, multi-tank, pumped and pressurized construction to supply residential
and irrigation needs.
Rainwater catchment systems were once fairly
popular in the United States and supplied many rural and urban dwellings with part or all
of their water. Rainwater is still one of the main sources of water used in many
island communities, such as Bermuda, the U.S. Virgin Islands, and Hawaii, and is being
heavily promoted as an alternative water source in Austrailia.
Why Consider a Rainwater Catchment System in
Portland: